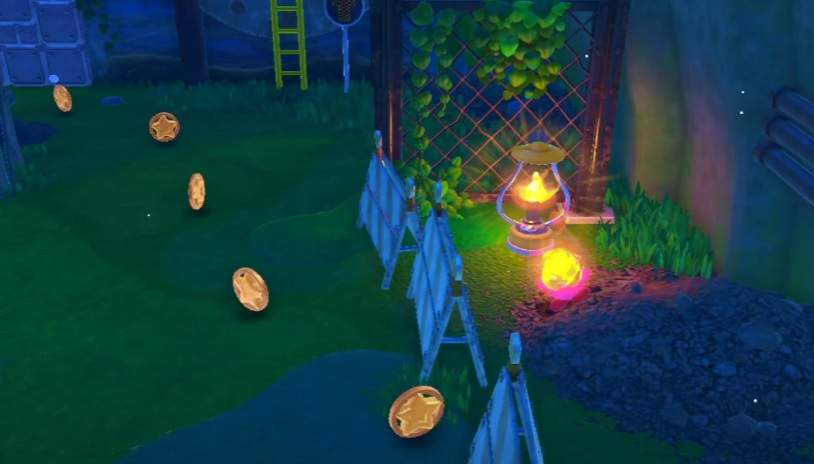
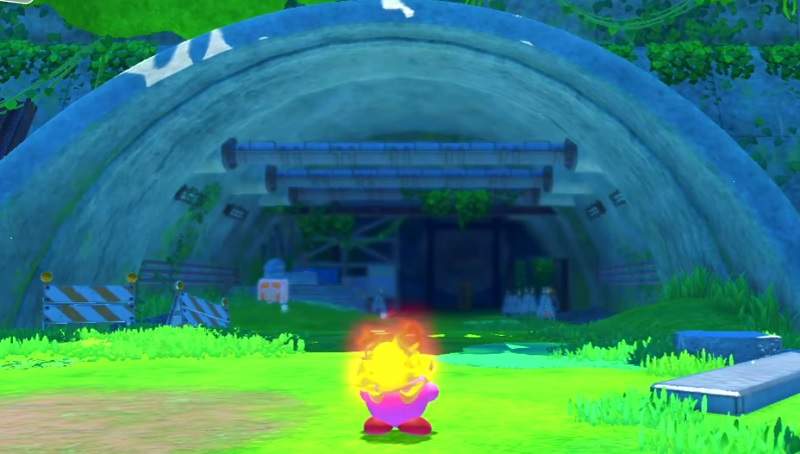
If you are playing Kirby And The Forgotten Land on Switch and looking for a ways to find all the Lantern Switches locations in the game then this guide can help. Finding all four Lanterns is crucial for completing the level, because finding them will remove the wanted poster and allow you to save the hidden Waddle Dees.
Where To Find The Lantern Switches?
You’ll need to complete several optional objectives to advance in Kirby And The Forgotten Land, including the ability to light lantern switches. However, to find these switches, you’ll need to use Kirby’s fire ability. The flame ability allows Kirby to illuminate lanterns and is essential for unlocking the Transmorphosis ability. Fortunately, the Fire ability is not hard to find in Kirby And The Forgotten Land.
In the game you must find the four Lantern Switches to complete the stage through the Tunnel. The first two can be found by going down the above platform and facing the traffic barrier.
The third can be found behind the traffic barrier and the fourth is further down the path past the moving platforms and surrounded by enemies with spiky balls.
How to Enable Kirby’s Flame Ability
In Kirby: Squeak Squad, you can use the flame ability to burn enemies. This is a great ability to use in puzzles and games, as it can set enemies ablaze. When used correctly, the flame will grow in size and can propel Kirby high into the air. To enable this ability, you must first have the Flamer. Once you have it, you can equip it on Kirby by putting it in your inventory.
In Kirby And The Forgotten Land, there are four Lantern Switches scattered throughout the game. To access them, Kirby must first inhale the hot head of an enemy and turn the switch.
The first room to look for lantern switches is the same room where you find Waddle Dee. To activate a lantern switch, you need to cross a bridge that has an enemy. Next, head north to a hidden room where the Waddle Dees are hiding. After the lantern switch has been activated, you must enter the room and kill the Awoofies. After a short battle with the enemy, open the chest and save Waddle Dee.

The second Lantern Switch can be found behind a barricade. The third Lantern Switch can be found on the platform rising up beneath the spiky enemy. Finally, there are several Lantern Switches throughout the game, but only a few are actually in plain view.
The fourth lantern switch is located slightly beyond the third lantern. You’ll have to equip fire power before you can reach it. Using fire power will allow you to light the lantern from a distance, and this will require you to navigate several moving platforms and spiky monsters.
Ultimately, you’ll have to illuminate all four lanterns to unlock the next objective. After completing this objective, you’ll unlock a bonus mission in the level.
After you’ve beaten the first level, you can move onto the second world to collect the coveted Leon Soul pieces. You can find these pieces in the Forgo Bay, Forgo Plains, Forgo Park, Forgo Horns, and the Forgo Zone.
However, you must beat the boss to get the blueprint. If you’re stuck on a particular level, you can try talking to Wise Waddle Dee. He’ll give you a hint to the next level.


